Working with Images
in
Various Applications
Select a topic or scroll down to view all topics
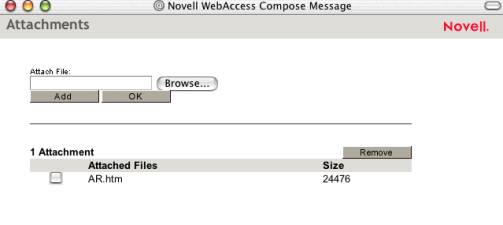
Attaching
Images using Novell Groupwise WebAccess:
|
 |
Attaching
Images using Entourage:
- Open Entourage
- Click New Message
- Type recipient's e-mail address and
enter a subject.
- Click +Add.
- Navigate to the location where the
image is stored.
- Select the desired file, then click
Choose.
- Repeat steps 4-6 to add additional
attachments.
- Type a message, if desired.
- Click Send Now.
Inserting
Images into AppleWorks:
- Launch AppleWorks
- If in Word Processing or Slideshow,
click Window àshow Tools.
Click on the pointer
- If in Draw, click on pointer
- From File menu, select Insert
- Click on drop-down arrow at top of
window, navigate to location where image is stored.
- Select All Available under File Format
- Select the image you wish to use and
click Insert.
OR
- Complete steps 1-3 above.
- Open the folder where the images are
stored.
- Click on the desired picture and drag
into AppleWorks window.
Changing the
Size of an Image in AppleWorks:
- Click on the Pointer.
- Click on the image to select it. (An
image will have little boxes, called handles, around the perimeter when it
is selected.)
- From the Arrange menu, select Scale By
Percent.
- Type in the desired percent. Default is 50%.
- You can also resize an image by
clicking on it and then dragging the handles.
Inserting
Images into Word or PowerPoint:
- From the Insert menu, click Picture à From File.
- Click on drop-down menu and navigate
to location where image is stored.
- Click Insert.
To Move image in
a Word document:
- After inserting the image,
double-click on it.
- Click the layout tab.
- Select Tight, click OK.
- Drag image to the desired location.
To Resize an
Image in Word or PowerPoint:
- Click on the image to select it.
- Using the handles, drag to resize the
image.
OR
- Double-click on the image.
- Select the Size tab.
- Use the Scale by percent boxes to
change the image size.
Copying
an
Image from the Internet:
- Point to the image and click, holding
down mouse button.
- Select Copy this Image (NOT copy this image location) and
release mouse button.
- Go to the application where the image
will be used.
- Select Edit à Paste.
NOTE: if using AppleWorks, be sure to click
on the Pointer BEFORE going to the Internet to copy the image.
Saving an Image
from the Internet:
- Point to the image and click, holding
down mouse button.
- Select Save this Image as…
- Navigate to the folder where the image
is to be stored.
- Rename, if necessary. Remember to add the .jpg extension
to the end of the filename.
- Click Save.
- Image is ready for use in any
application.